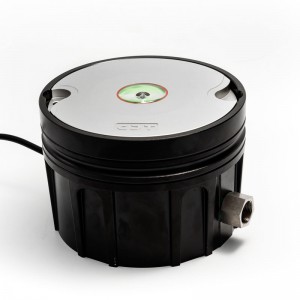
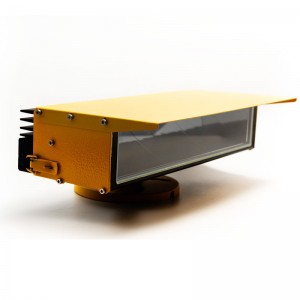
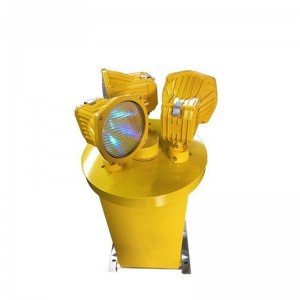
CM-HT12-4-XZ Airport LED Rotation Beacon
The Airport rotating beacons identify the location of an airport from a distance and are designed for use at commercial and regional airports as well as heliports.
Production Description
Compliance
|
- ICAO Annex 14, Volume I, Eighth Edition, dated July 2018 - FAA's AC150/5345-12 L801A |
● Light intensity, light color meets the requirements.
● Precision optical control, high light utilization, high brightness and outstanding optical performance.
● The overall appearance of the lamp is beautiful, the heat dissipation performance is good, and the design is reasonable.
● The luminaire adopts a split structure to reduce impurities and moisture into the lamp, which improves the service life of the luminaire optics and reduces the number of maintenance operations.
● The main body of the lamp is made of aluminum alloy, and the fasteners are made of stainless steel, which has good anti-corrosion performance.
● The use of high-precision machine tools ensures the omnidirectional quality and precision of the luminaire.
|
Light Characteristics |
|
|
Operating voltage |
AC220V (Other available) |
|
Power consumption |
White-150W*2; Green-30W*2 |
|
Light Source |
LED |
|
Light Source Lifespan |
100,000hours |
|
Emitting Color |
White,Green |
|
Flash |
12 rev/min, 36 times per minute |
|
Ingress Protection |
IP65 |
|
Altitude |
≤2500m |
|
Weight |
85kg |
● If it is installed on a flat floor (such as concrete floor), fix the baffle to the concrete floor with expansion screws.
● If it is installed on an uneven ground (such as land) in this case, it needs to be fixed on the concrete block.
● Clean up the site and level the floor of the installation floor to ensure that the fixtures remain level after installation.
● When unpacking, check that the parts are complete. Handle the fixture carefully to avoid damage.
● Fix the luminaire through the bottom plate screws and open the cover to connect the cable. L is connected to the Live Wire, N is connected to the Naught Wire, and the E is the Earth Wire (as shown in the figure).
Remove the baffle, loosen the side screws, and adjust the elevation angle of the lamp through the front and rear angle adjustment screws until the predetermined angle value is adjusted to tighten the screw.
