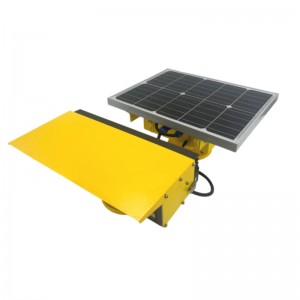
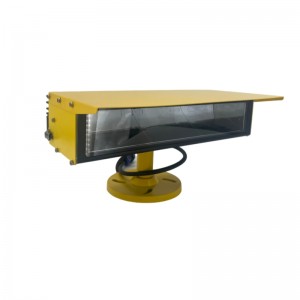
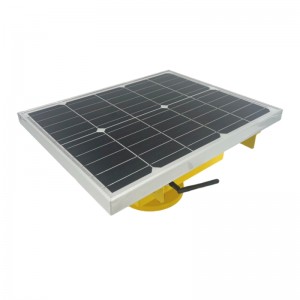
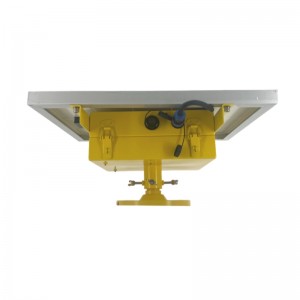
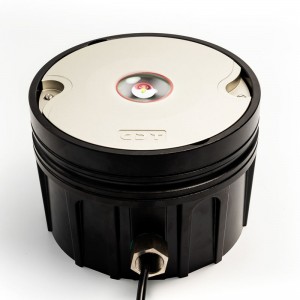
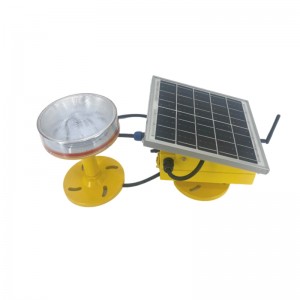
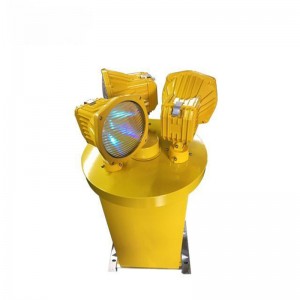
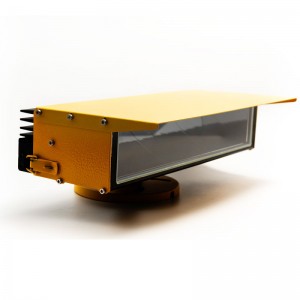
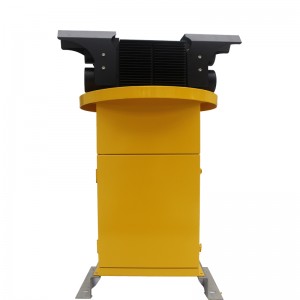
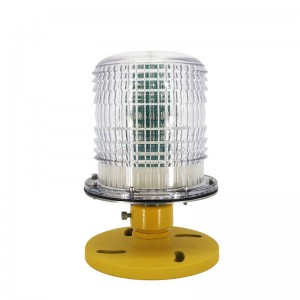
CM-HT12/N-T Solar Power Heliport LED Flood Lights
Heliport Floodlighting system ensures the helipad surface illumination is not less than 10 Lux.
Production Description
Compliance
| - ICAO Annex 14, Volume I, Eighth Edition, dated July 2018 |
● All-aluminum alloy box, light weight, high structural strength, corrosion resistance, and excellent heat dissipation performance.
● Imported LED light source, long life, low power consumption and high brightness.
● The light-emitting surface is tempered glass, which has excellent impact resistance, good thermal stability (temperature resistance of 500°C), good light transmittance (up to 97% light transmittance), UV resistance, and aging resistance. The lamp holder is made of aluminum alloy liquid casting, with surface oxidation treatment, fully sealed, waterproof, and corrosion-resistant.
● The reflector designed based on the reflection principle has a light utilization rate of more than 95%. At the same time, it can make the light angle more precise and the viewing distance longer, completely eliminating light pollution.
● The light source is white LED, which adopts internationally advanced long-life, low-power consumption, high-efficiency chip packaging (life span exceeds 100,000 hours), with a color temperature of 5000K.
● The entire lighting device adopts a fully encapsulated process, which is resistant to impact, vibration and corrosion, and can be used for a long time in harsh environments. The structure is light and strong, and the installation is simple
|
Light Characteristics |
|
|
Operating voltage |
AC220V (Other available) |
|
Power consumption |
≤60W |
|
Luminous flux |
≥10,000LM |
|
Light Source |
LED |
|
Light Source Lifespan |
100,000hours |
|
Emitting Color |
White |
|
Ingress Protection |
IP65 |
|
Altitude |
≤2500m |
|
Weight |
6.0kg |
|
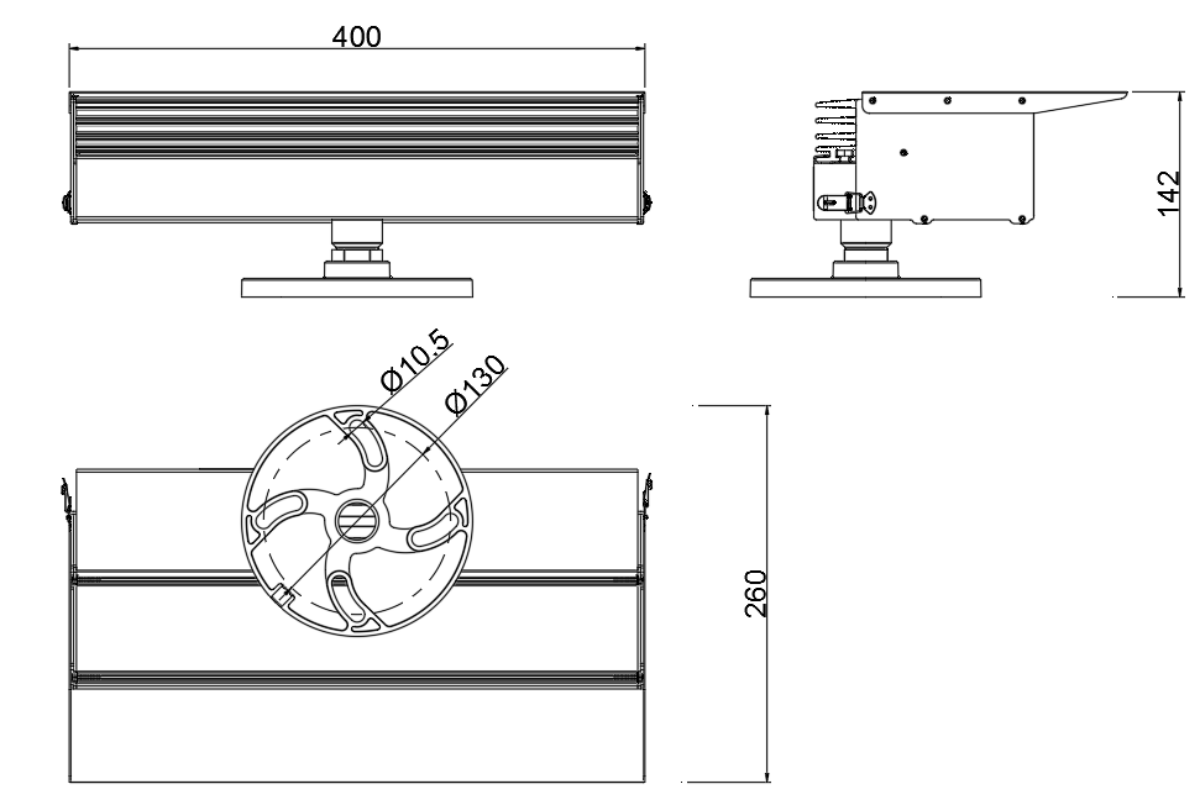
Overall Dimension (mm) |
40mm×263mm×143mm |
|
Installation Dimension (mm) |
Ø220mm×156mm |
|
Solar Power Panel |
5V/25W |
|
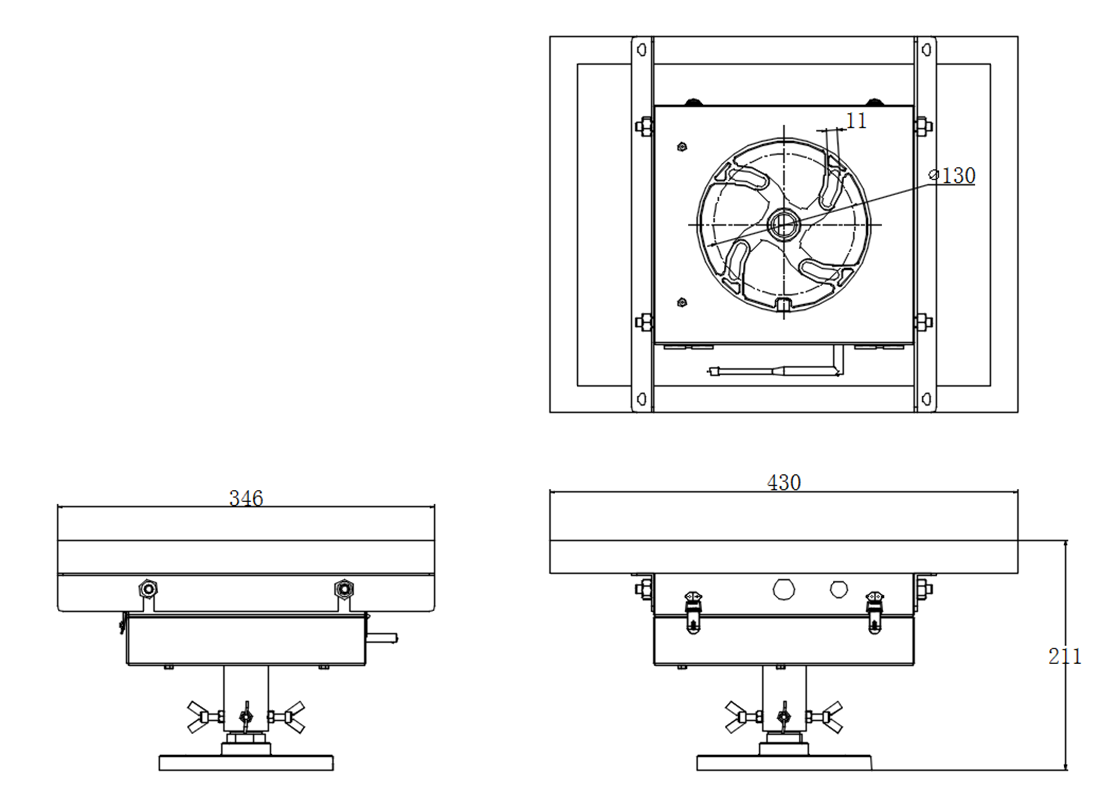
Solar Power Panel Size |
430*346*25mm |
|
Lithium Battery |
DC3.2V/56AH |
|
Overall Size(mm) |
430*211*346mm |
|
Environmental Factors |
|
|
Temperature Range |
-40℃~55℃ |
|
Wind Speed |
80m/s |
|
Quality Assurance |
ISO9001:2015 |
Installation method
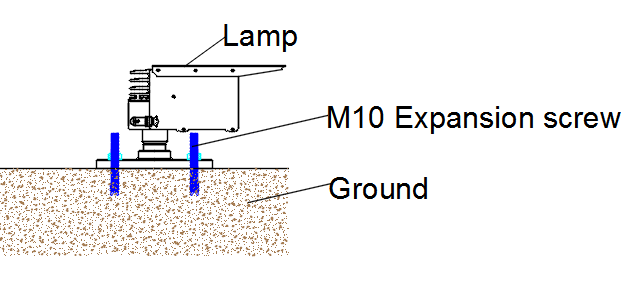
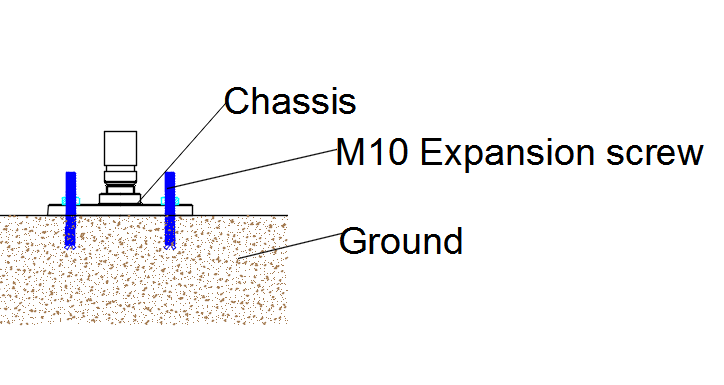
The installation of the lamp is as shown in the figure below. Before installation, anchor bolts should be embedded (if expansion bolts are used, there is no need to pre-embed them).
● Place the lamp horizontally, and the anchor bolts or expansion bolts should ensure firmness and verticality.
● First loosen the butterfly screw of the battery box and take out the chassis.
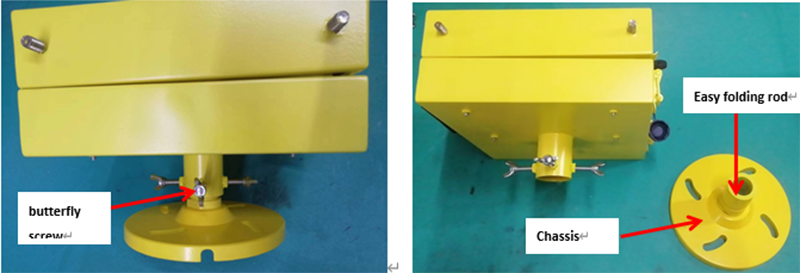
● Install chassis
● Open the battery box and insert the battery plug into the control board.
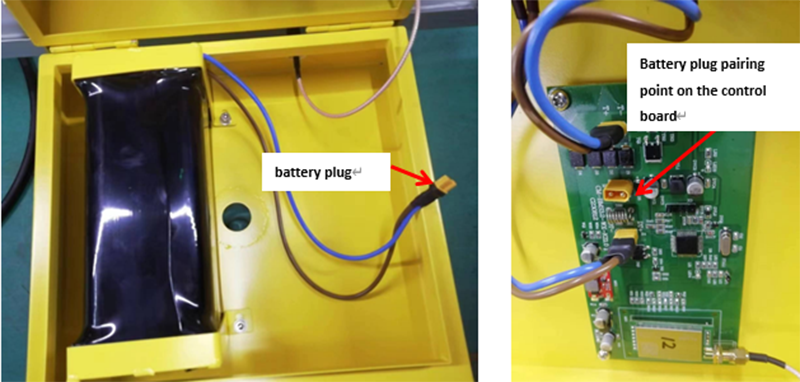
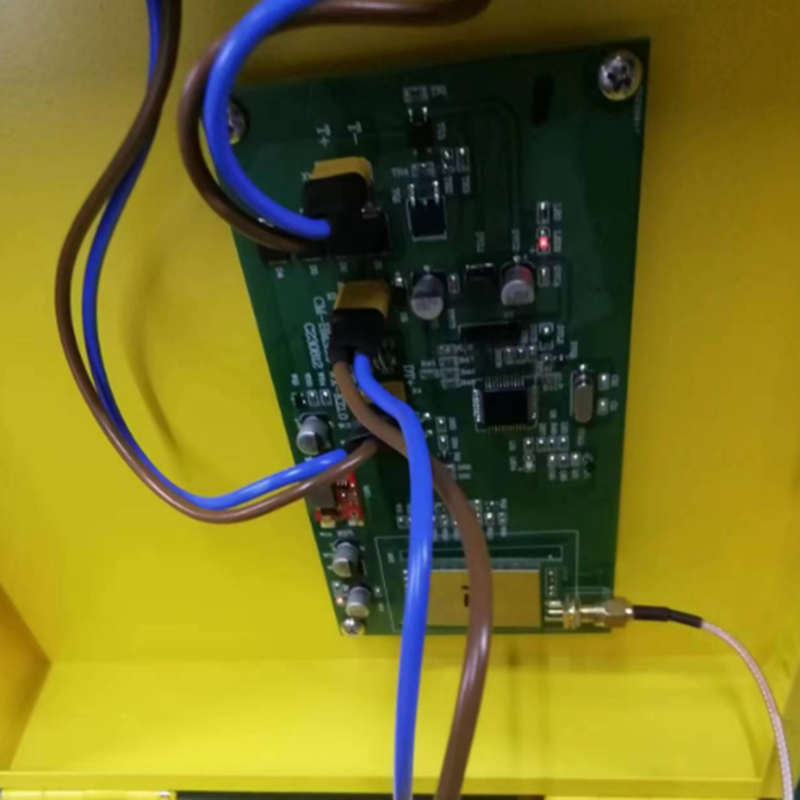
● Open the battery box and insert the battery plug into the control board.
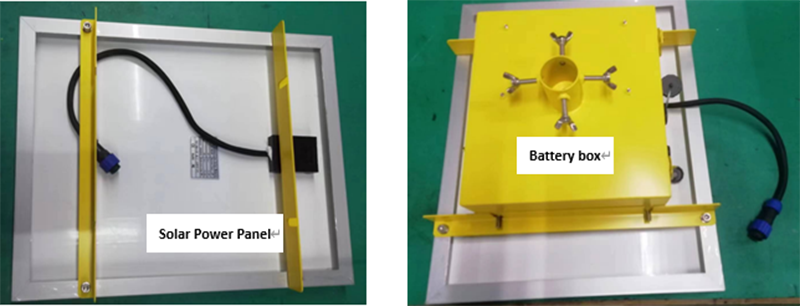
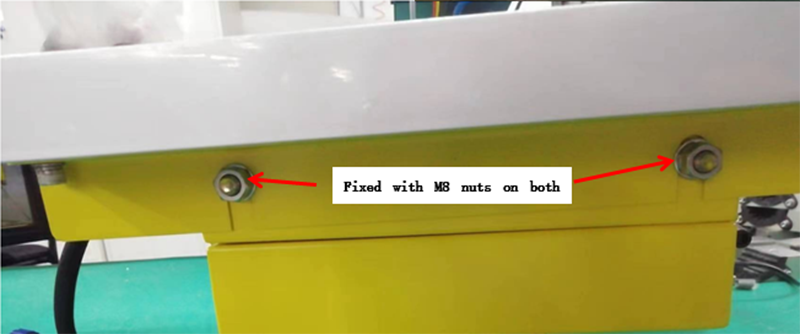
● Install the assembled battery box on the easy-folding rod of the chassis and tighten the butterfly screws. Install the antenna on the back of the battery box. The direction of the antenna is as shown in the figure below to avoid opening the cover and crushing the antenna.

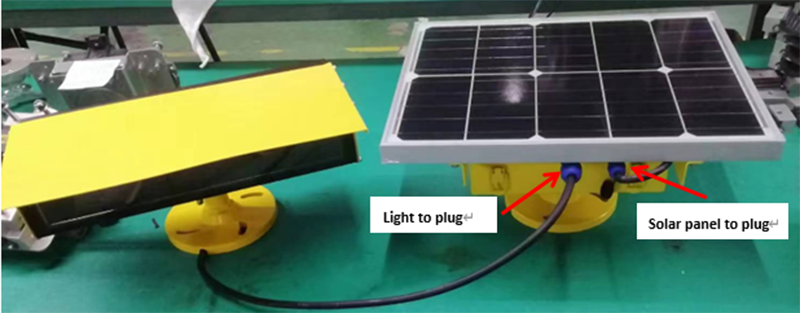
● Plug the lamp and solar panel connectors into the battery box and tighten the connectors.
